Mastering Rose Drawing: Your Ultimate Step-by-Step Guide
Roses, with their intricate petals, elegant forms, and captivating beauty, have long been a muse for artists worldwide. Whether you're aiming to create a heartfelt Valentine's Day card, a thoughtful Mother's Day gift, or simply wish to hone your artistic skills, learning the art of rose drawing is a rewarding endeavor. It's a skill that combines observation, patience, and a touch of artistic flair, allowing you to capture the essence of one of nature's most beloved flowers.
This comprehensive guide is designed to take you through the enchanting world of rose drawing, from understanding the basic shapes to mastering realistic shading and even exploring more abstract interpretations. We'll delve into practical techniques, essential supplies, and invaluable tips to help you draw roses with confidence and ease. Get ready to unleash your creativity and bring these beautiful blooms to life on paper!
Table of Contents
- Why Draw Roses? A Timeless Inspiration
- Essential Art Supplies for Your Rose Drawing Journey
- Understanding the Rose: Anatomy and the Power of Reference
- Step-by-Step Rose Drawing Tutorials for Every Skill Level
- Quick Tips for Confident Rose Drawing
- Advanced Techniques and Creative Rose Drawing Ideas
- Practice Makes Perfect: Your Journey to Mastery
- Beyond the Rose: What's Next in Your Artistic Journey?
Why Draw Roses? A Timeless Inspiration
Roses make beautiful flowers with a pleasant scent, cherished for their aesthetic appeal and symbolic meanings. Beyond their visual charm, the petals and the fruit of the rose, called rose hips, are even used in making foods, teas, and medicines, highlighting their versatility. This deep connection to human culture makes them an incredibly popular subject for artists. Drawing a rose isn't just about replicating a flower; it's about capturing emotion, beauty, and even a sense of romance. As mentioned in our data, "This drawing is perfect for Valentine's Day and Mother's Day gifts or cards." Imagine presenting a hand-drawn rose to a loved one – it carries a personal touch that a store-bought item simply cannot replicate. It’s a thoughtful, unique, and deeply personal way to express affection. Furthermore, the process of drawing itself can be incredibly therapeutic, allowing you to focus, relax, and engage with your creative side.Essential Art Supplies for Your Rose Drawing Journey
Before you begin your rose drawing adventure, it's helpful to gather a few basic art supplies. You don't need anything overly fancy, especially when you're just starting out. Here's a list of the essentials that will set you up for success: * **Pencils:** A range of graphite pencils is ideal. Start with an HB pencil for initial sketches (light lines), then move to 2B or 4B for darker outlines and shading. * **Eraser:** A good quality kneaded eraser or a plastic eraser is crucial for making corrections and lifting graphite without damaging the paper. * **Drawing Paper:** Any standard drawing paper will do. Look for paper with a bit of tooth (texture) to hold the graphite well. * **Blender (Optional):** A blending stump (tortillon) or even a cotton swab can help you achieve smooth shading and transitions. * **Reference Photos:** As we'll discuss, good reference photos are invaluable. Have them ready on your tablet, mobile device, or printed out. Remember, you can simply copy the rose tutorial from your tablet or mobile device or print onto paper to follow along. Having your supplies ready makes the learning process much smoother and more enjoyable.Understanding the Rose: Anatomy and the Power of Reference
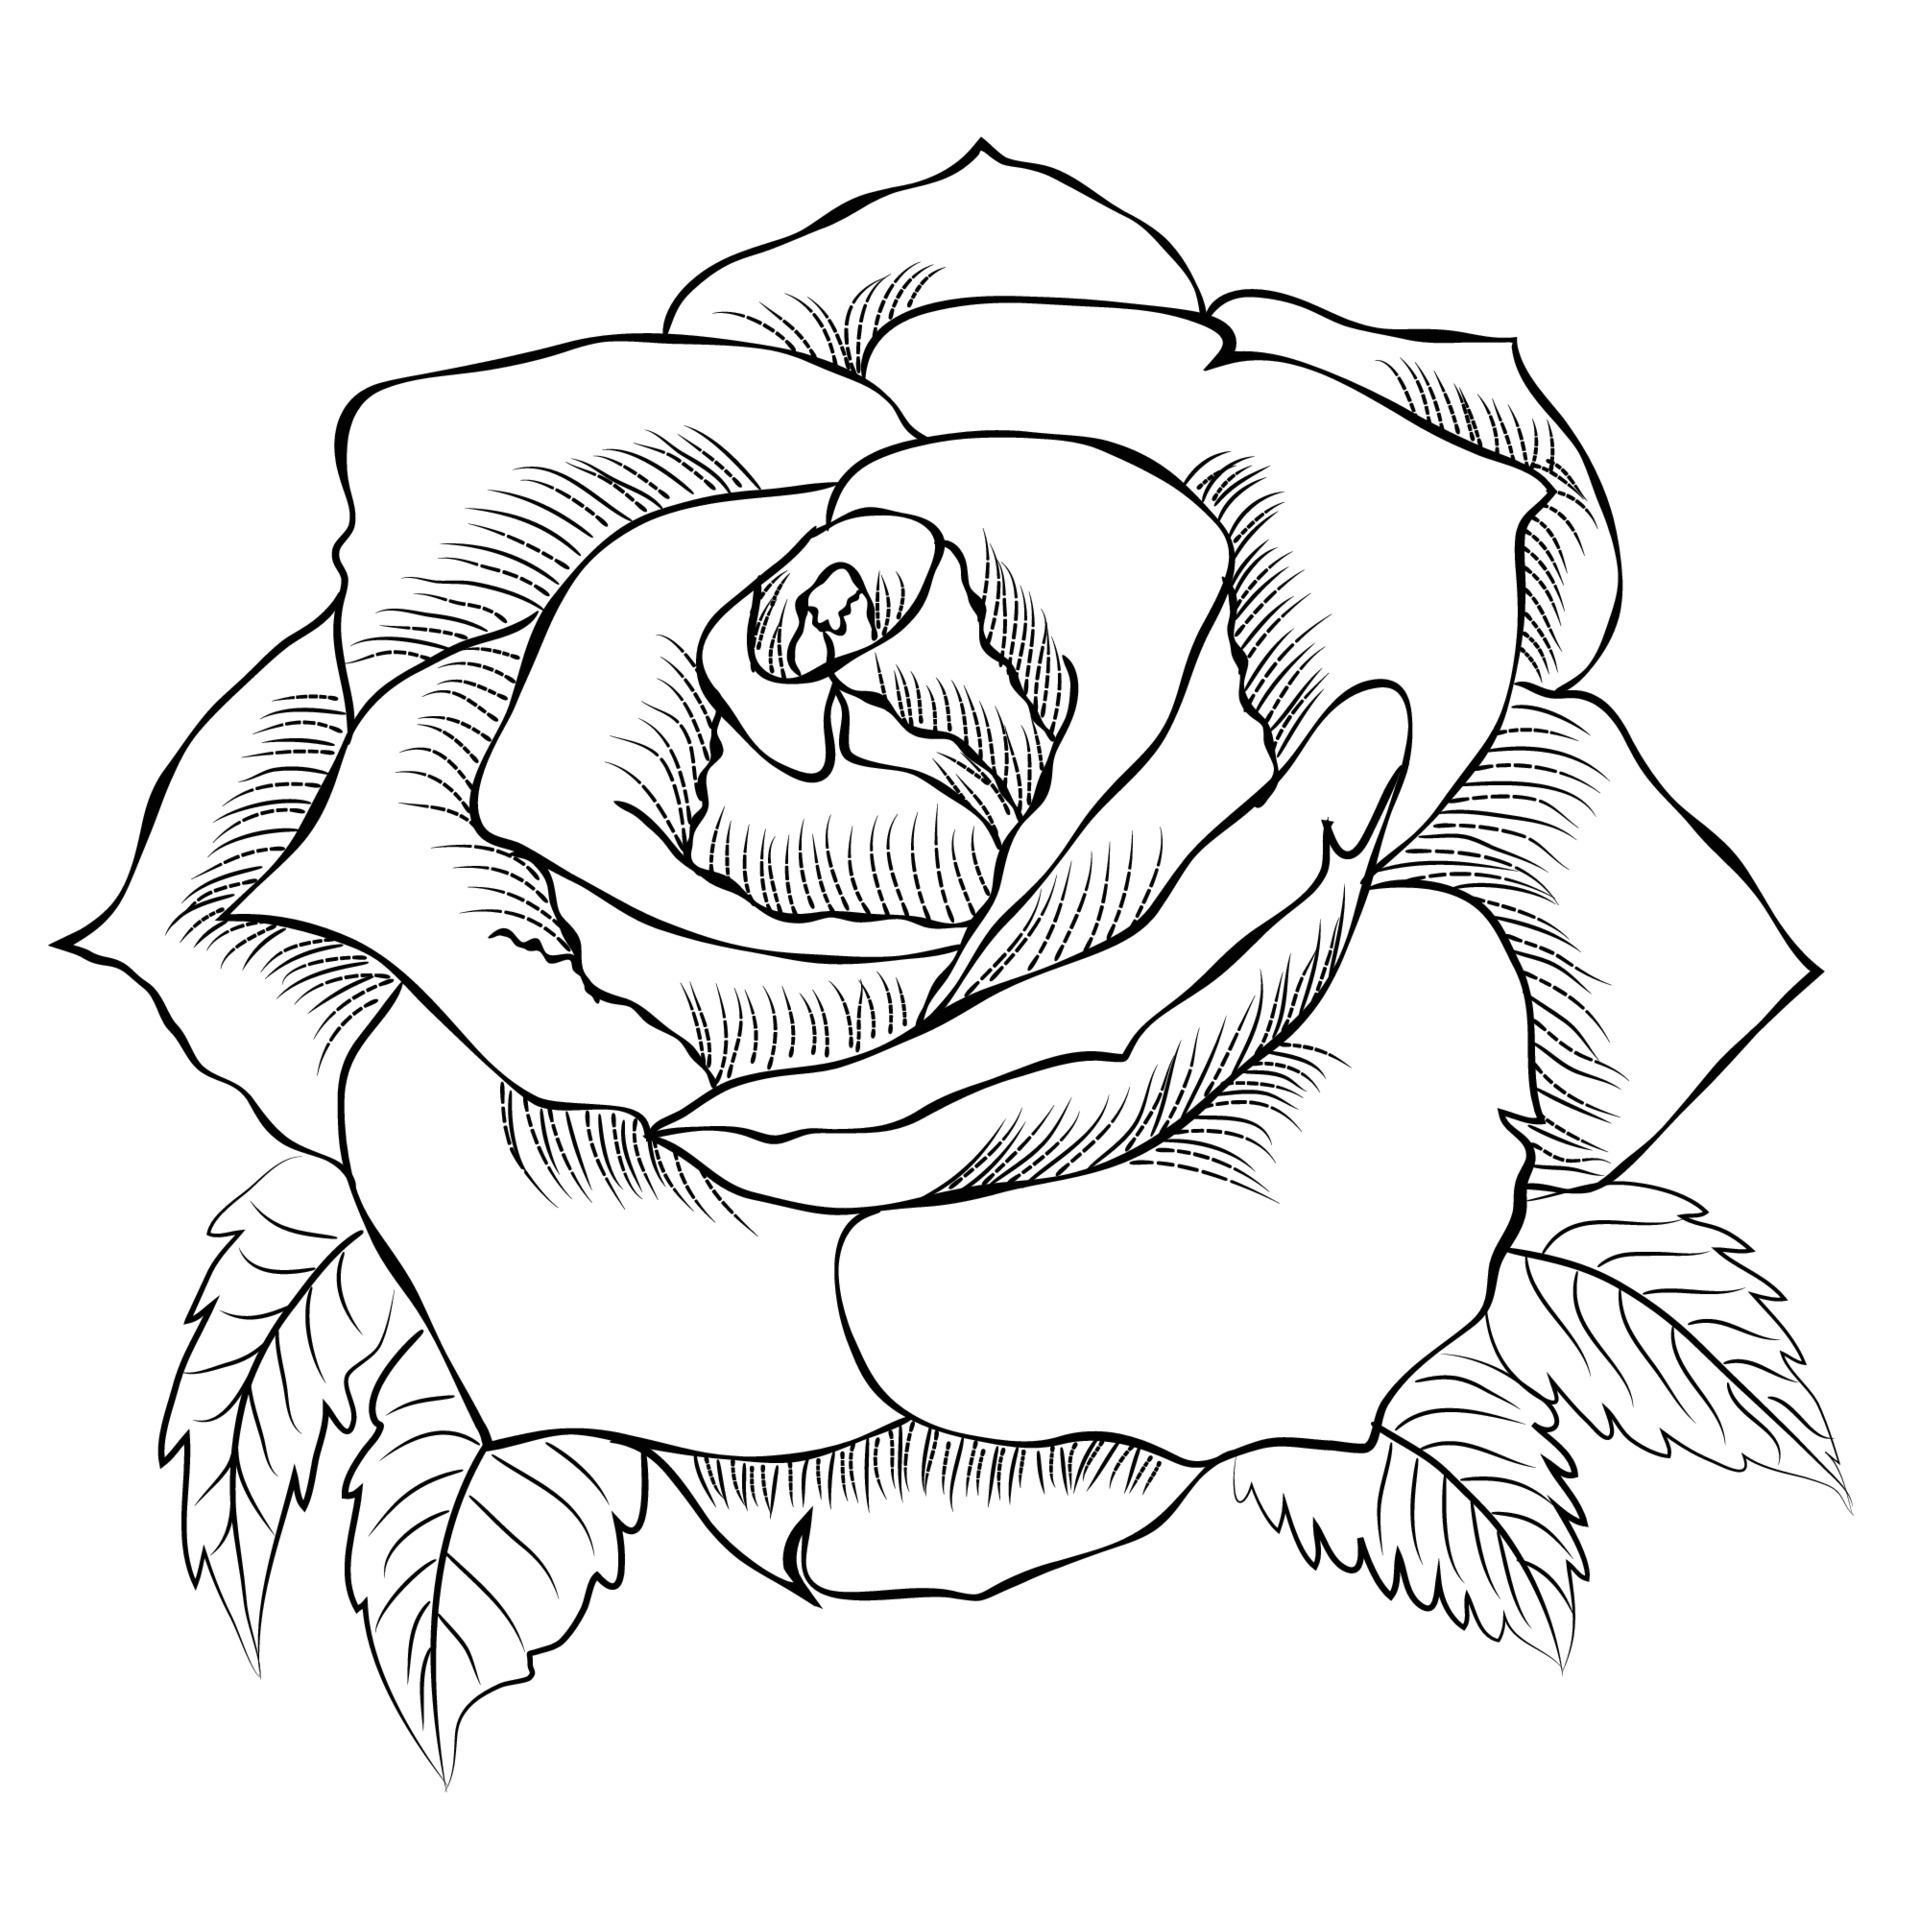
To draw a convincing rose, it helps to understand its basic structure. A rose is not just a collection of random petals; it has a central core from which petals unfurl outwards in a spiral-like fashion. The form is complex, yet recognizable. ### The Power of Reference Photos One of the most crucial tips for improving your rose drawing is to "Use reference photos to understand rose." A good reference photo is your best friend. "Make sure the photo you choose to draw from has a shape that can be instantly recognised as a rose." This means looking for clear images where the petals are distinct, and the overall form is evident. Don't pick a blurry, abstract photo if your goal is to draw a realistic rose. Observe how the petals overlap, curl, and create shadows. Pay attention to the light source and how it highlights certain areas while casting others into shadow. This observation is key to rendering form effectively. ### Checking Your Silhouette: A Crucial Test Once you get drawing, you can turn your rose into a silhouette to see its overall shape and discern if it effectively communicates a rose. This simple trick is incredibly powerful. By reducing your drawing to a pure outline, you can quickly spot if the proportions are off or if the overall form doesn't immediately read as a rose. "If you’re working from good reference, checking the silhouette will keep you on track." It helps you ensure that the fundamental structure is sound before you dive into intricate details. A strong silhouette means a strong drawing foundation.Step-by-Step Rose Drawing Tutorials for Every Skill Level
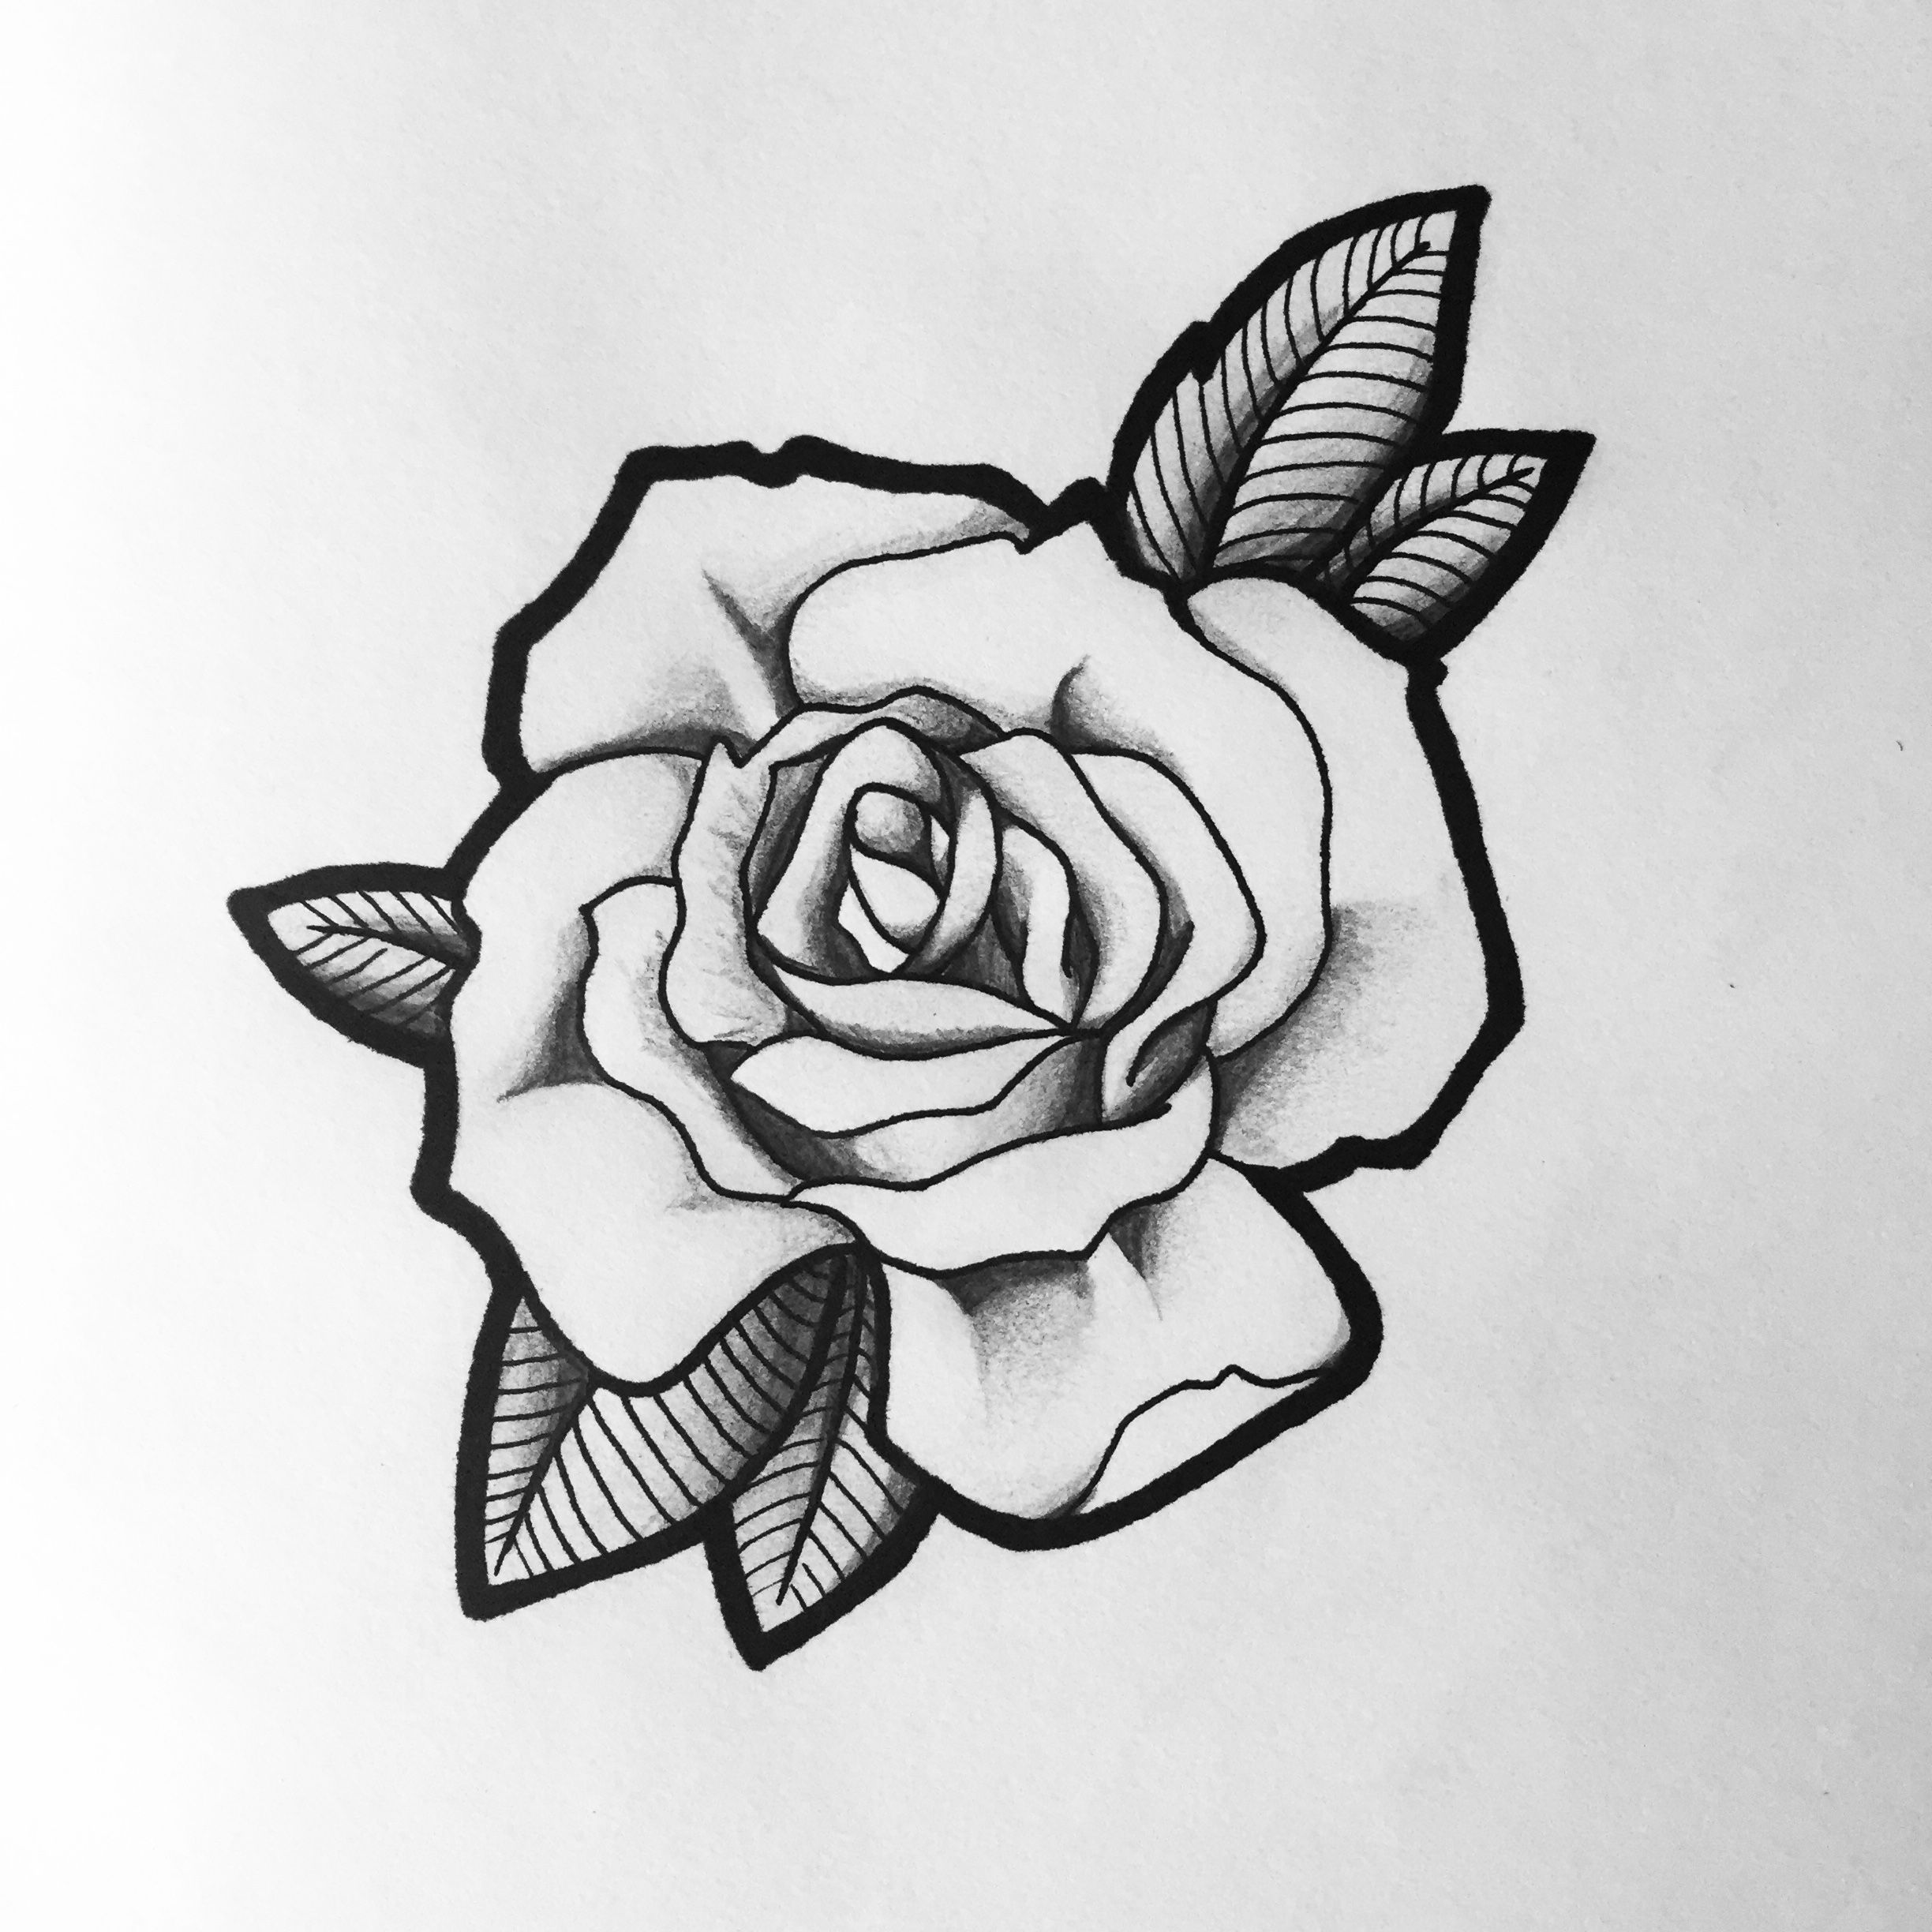
Whether you're a complete beginner or looking to refine your skills, there's a rose drawing method for you. "Roses can be difficult to draw so I tried to simplify them as much as I could." The key is to start simple and gradually build complexity. ### The Simple Spiral and Base Shape Method "Learn how to draw a rose with a simple spiral and base flower shape." This is an excellent starting point for beginners. Imagine a loose spiral in the center, which represents the tightly wound inner petals. Around this, you'll build the larger, unfurling petals using simple, flowing lines. This method focuses on capturing the essence of the rose's structure without getting bogged down in too much detail initially. It's about establishing the overall form first. ### From Ovals to Petals: A Beginner-Friendly Approach "Start by drawing an oval shape, as shown in step 1." This method provides a clear, structured way to build your rose. 1. **Step 1:** Begin with a vertical oval. This will serve as the general guide for the rose's head. 2. **Step 2:** "Now draw a small oval around the beginning oval, making the bottom of the second oval even with the first." This second oval helps define the outer boundaries and gives you a sense of the rose's volume. 3. **Step 3 onwards:** From these foundational ovals, you'll start to sketch the petals. Think about how the petals overlap and curve. "The best way to render (i.e., Draw) form is to make sure you think about what part of the rose you're drawing so that your hand movements follow the same curves of the petal or the roundness of the stem." This conscious effort to understand the form will make your petals look more natural and three-dimensional. This approach is perfect for beginners, and "See also cute rose drawing for beginners" for more simple variations. ### The Realistic Rose: Shape Sketch, Outline, and Shading For those looking to achieve a more lifelike result, "Learn how to draw a realistic looking rose with this tutorial that covers shape sketch, outline drawing and shading." This method requires more patience and attention to detail: 1. **Shape Sketch:** Begin with very light, loose lines to establish the overall shape and major forms of the rose. Don't press hard; these are just guides. This is where your understanding of the rose's internal structure and the "simple spiral and base flower shape" comes in handy. 2. **Outline Drawing:** Once you're satisfied with the initial sketch, refine your lines. Start to define the individual petals, paying close attention to their unique curves and overlaps. This is where you transition from light guidelines to more confident, defined outlines. 3. **Shading:** This is where the magic happens. Shading adds depth, volume, and realism. Observe your reference photo closely to identify areas of light and shadow. Use varying pencil pressure to create different tones. Start with lighter tones and gradually build up the darker areas. Blending tools can help create smooth transitions. "Follow the detailed pencil illustrations and tips for each step and practice drawing roses." This iterative process of sketching, outlining, and shading will help you create a truly realistic rose drawing.Quick Tips for Confident Rose Drawing
Drawing, like any skill, benefits from smart practice and good habits. Here are some quick tips to help you on your rose drawing journey: * **Start Light, Darken Later:** "Start with light pencil lines and darken them once you're satisfied with the shape." This is perhaps the most important tip for any drawing. Light lines are easy to erase and adjust, allowing you to experiment and refine your form before committing. * **Embrace Imperfection:** No two roses are exactly alike, and your drawing doesn't need to be perfect. Embrace the unique characteristics that emerge as you draw. * **Break It Down:** A rose can seem complex, but by breaking it down into simpler shapes (ovals, spirals, individual petals), it becomes much more manageable. * **Focus on Overlap:** The way petals overlap is crucial for creating depth. Pay close attention to which petal is in front of another. * **Practice Regularly:** "Remember, the key to improving your rose drawing skills is practice." Consistent effort, even for short periods, yields significant results.Advanced Techniques and Creative Rose Drawing Ideas
Once you've mastered the basics of rose drawing, you can begin to explore more advanced techniques and creative interpretations. One fascinating example from our data describes a drawing that "depicts a single, fully bloomed red rose with droplets of blood dripping from its petals and thorns. The rose is rendered in a bold, graphic style with a dark and edgy aesthetic. The blood adds a sense of danger and intensity to the image, creating a striking and visually impactful piece." This illustrates how a rose, traditionally a symbol of beauty and love, can be transformed to convey entirely different emotions and narratives through artistic choices. Consider experimenting with: * **Different Perspectives:** Draw roses from various angles – looking down into the bloom, from the side, or even a close-up of a single petal. * **Expressive Lines:** Instead of perfectly smooth lines, try using more gestural or broken lines to convey movement and energy. * **Texture:** Use your pencil to suggest the velvety texture of petals or the rough texture of thorns. * **Composition:** Don't just draw a single rose. Experiment with drawing a bouquet, a rose with a stem, or a rose intertwined with other elements. "For more easy and fun guides, see the how to draw a rose with a stem or cross with a rose drawing tutorials." * **Color (if applicable):** If you're working with colored pencils or other mediums, explore how different colors affect the mood of your rose. "You can print out the directed drawing template and color your rose however you like." Embrace your imagination. The rose is a versatile subject, capable of conveying a wide range of emotions and styles, from "cute rose drawing" to bold and edgy representations.Practice Makes Perfect: Your Journey to Mastery
The journey to becoming proficient in rose drawing, or any artistic skill, is paved with practice. "Soon, you'll be drawing roses with confidence and ease." This isn't just a hopeful statement; it's a promise that consistent effort will pay off. * **Consistency over Intensity:** It's better to draw for 15-20 minutes every day than to draw for 5 hours once a month. Regular, short practice sessions help build muscle memory and reinforce learning. * **Experiment with Methods:** "Try each of these methods and see which one you enjoy the most." Some people prefer the structured oval approach, while others might find the free-flowing spiral more intuitive. Find what resonates with you. * **Don't Be Afraid to Fail:** Every "bad" drawing is a learning opportunity. It tells you what didn't work and helps you refine your approach for the next one. * **Keep a Sketchbook:** A dedicated sketchbook allows you to track your progress and see how far you've come. It also encourages you to draw more frequently. * **Seek Feedback (Optional):** If you're comfortable, share your drawings with trusted friends or online communities. Constructive criticism can provide valuable insights. Remember, "I created this simple rose drawing with each step shown to use as an easy model." These tutorials are designed to be a guide, but your unique artistic voice will emerge through consistent practice.Beyond the Rose: What's Next in Your Artistic Journey?
If you enjoyed drawing a rose, then you might also be interested in drawing a daisy or other kinds of flowers! The principles you've learned for rose drawing – observation, understanding form, sketching, outlining, and shading – are transferable to drawing almost anything else. "Which flower would you like to draw next time?" Consider exploring other complex flowers like lilies or orchids, or simpler ones like sunflowers or tulips. Each flower presents its own unique challenges and rewards. The world of botanical illustration is vast and endlessly fascinating. "Remember, all of our drawing tutorials are 100% free for you to use as references and materials for your drawing activities." We encourage you to continue your artistic exploration. The skills you've developed in mastering the rose are a strong foundation for any future drawing endeavors.We hope that this blog post can help you feel more confident in drawing roses. It's a journey of continuous learning and creative expression. Keep practicing, keep observing, and most importantly, keep enjoying the process of bringing beauty to life through your art.
- 9xmovieswin
- Rulz Movies 2023 Telugu
- Pornhwa
- Instagram Influencers Viral Mms Videos
- Kyla Yesenosky Onlyfans
- Reiran Akame Onlyfans
- Gena Avery Knowles
- Hannah Owo Sex Photos
- Movierulz Kannada Movie 2023
- Movierlz
Hand drawn Rose line art drawing Images illustration collection
Traditional Rose Drawing at PaintingValley.com | Explore collection of

Drawing Pictures Of Roses - Drawing Pictures
